Building a desktop environment in React, part 1
I designed my website to resemble a late 90s-era desktop OS, and that meant content would be viewed inside windows running different “programs”, as it would in a real OS. This is the third iteration of a window manager inside a website I’ve developed, and I’ve found it to be fairly robust and nice to work with.
In this series of articles, I want to explain how it works by building a simple window manager from scratch. I will be doing this in React as it’s both what I used to build this site and the most commonly used UI library for interactive web apps. First we need to define what we’re actually aiming for, and there’s a couple key points:
- Content will be presented in windows that stack on top of each other and can be moved and resized
- The user should be able to open an arbitrary number of windows
- Multiple instances of a program should be able to run in different windows, each with its own state
This seems simple enough at first, but it has some interesting implications due to the way React works that we’ll get into later. In this first part we’ll start by rendering a simple window we can move around and resize.
I will be starting from an empty React+Vite project with Tailwind for styles, but these are just React components you can use with any framework of your choice. Keep in mind almost everything will have at least some client-side logic, so if you’re using a RSC framework like Next you’ll want to place the entire desktop inside a client component.
Creating a window
We’ll need somewhere to put our windows, so we’ll create a simple Desktop component. Everything we build will go in here, but for now it’s just a div covering the whole screen.
export default function Desktop() {
  return (
    <div className="fixed inset-0 w-screen h-screen overflow-hidden bg-teal-800">
      ...
    </div>
  );
}
Then, we’ll define the window component with some basic scaffolding for all the different parts and the CSS styles to make it look like a window.
type TitlebarProps = {
  title: string;
};

function Titlebar({ title }: TitlebarProps) {
  return (
    <div
      className="flex flex-row items-center px-2 py-0.5
                 bg-blue-500 border"
    >
      <div className="text-white text-xs/4">{title}</div>
    </div>
  );
}

export default function Window() {
  const top = 100;
  const left = 100;
  const width = 400;
  const height = 300;

  return (
    <div
      className="fixed grid grid-cols-1 grid-rows-[auto_1fr]
                 bg-neutral-300 border p-0.5 gap-0.5 select-none"
      style={{ top, left, width, height }}
    >
      <Titlebar title="A window" />

      <div className="border bg-white p-2 text-sm">
        Hello world!
      </div>
    </div>
  );
}
With that, we have a (very) simple looking window:
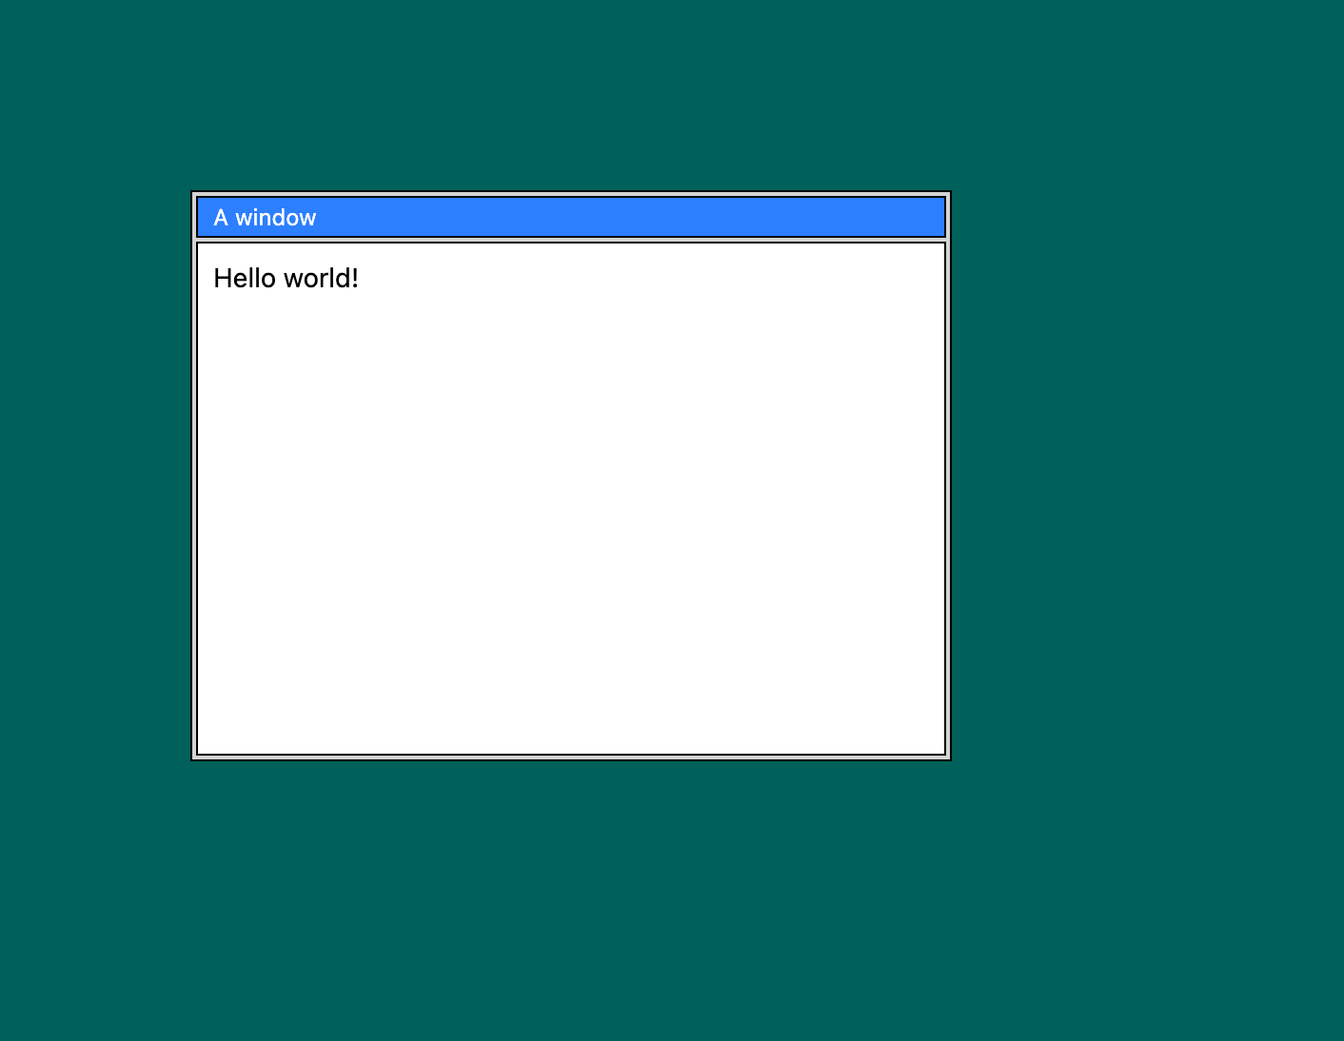
So far it’s little more than a div with fixed positioning, though. We want to be able to move the window around and resize it, and that’s where the first interesting bit of code comes in.
Moving the window
We want to be able to drag our window around by the titlebar like you would in a real desktop environment. We’ll implement this behavior in a custom hook. There isn’t great support for generic “grab and drag“ events in a browser, so we’ll start by creating a generic useDrag hook we can reuse later.
type DragHandler = (ev: PointerEvent, target: EventTarget | null) => void;

type DragHandlers = {
  onDragStart?: DragHandler;
  onDragMove?: DragHandler;
  onDragEnd?: DragHandler;
};

export function useDrag({ onDragStart, onDragMove, onDragEnd }: DragHandlers) {
  const drag = (ev: PointerEvent, target: EventTarget | null) => {
    onDragStart?.(ev, target);

    const dragMove = (ev: PointerEvent) => {
      ev.preventDefault();
      ev.stopPropagation();
      onDragMove?.(ev, target);
    };

    // At the end of a drag event (release)...
    const dragEnd = (ev: PointerEvent) => {
      if (ev.button !== 0) return;

      onDragEnd?.(ev, target);

      // Clean up event listeners
      document.body.removeEventListener("pointermove", dragMove);
      document.body.removeEventListener("pointerup", dragEnd);
    };

    document.body.addEventListener("pointermove", dragMove); // Drag while moving
    document.body.addEventListener("pointerup", dragEnd); // End drag on pointer up
  };

  const onPointerDown = (ev?: React.PointerEvent) => {
    if (ev && ev.button > 0) return;
    ev?.stopPropagation();

    const start = (ev: PointerEvent) => {
      const { target } = ev;

      ev.preventDefault();
      ev.stopPropagation();
      drag(ev, target);
      cancel();
    };

    // Clean up event listeners
    const cancel = () => {
      document.body.removeEventListener("pointermove", start);
      document.body.removeEventListener("pointerup", cancel);
    };

    // On pointer down...
    document.body.addEventListener("pointermove", start); // Start dragging on move
    document.body.addEventListener("pointerup", cancel); // Cancel on pointer up (click)
  };

  return { onPointerDown };
}
The hook is simple enough, but there’s a few things to consider. Notice how this custom hook doesn’t use any React state (e.g., to keep track of whether the element is being dragged), but rather works by simply adding and removing event handlers from the DOM at the right time. This means we’re not triggering a re-render on each pointer movement event, which helps avoid any performance issues.
Note also that we’re adding the event listeners to the body element and not the element being clicked. This is essential to keep the drag behavior working if the pointer leaves the bounds of the drag handle, which happens often with fast pointer movement.
With this drag hook in place, we can write another custom hook to move our window. This will just be a specialization of the generic drag hook.
export type Position = { top: number; left: number };

export default function useMove(
  windowRef: React.RefObject<HTMLDivElement | null>,
  moveHandler: (pos: Position) => void,
) {
  const offsetX = useRef(0);
  const offsetY = useRef(0);

  const onDragStart = (ev: PointerEvent) => {
    const el = windowRef.current;
    if (!el) return;

    // Calculate pointer offset from window topmost corner
    const { x, y } = el.getBoundingClientRect();
    offsetX.current = x - ev.clientX;
    offsetY.current = y - ev.clientY;
  };

  const onDragMove = (ev: PointerEvent) => {
    const el = windowRef.current;
    if (!el) return;

    // Calculate new window position from cursor + offset
    const newX = ev.clientX + offsetX.current;
    const newY = ev.clientY + offsetY.current;

    el.style.setProperty("top", `${~~newY}px`);
    el.style.setProperty("left", `${~~newX}px`);
  };

  const onDragEnd = () => {
    const el = windowRef.current;
    if (!el) return;

    // Commit window changes to state
    const { top, left } = el.getBoundingClientRect();
    moveHandler({ top, left });
  };

  return useDrag({
    onDragStart,
    onDragMove,
    onDragEnd,
  });
}
The hook simply keeps track of the window’s original position and updates it on drag. Note, again, how we’re not changing any React state: useRef lets us keep a value outside of React’s data flow, and while dragging we apply the styles directly to the window element. Only when the drag ends do we report the final position back through the moveHandler callback.
Now, we can use that hook in our Window component:
export default function Window() {
  const windowRef = useRef<HTMLDivElement>(null);
  const [bounds, setBounds] = useState({
    top: 100,
    left: 100,
    width: 400,
    height: 300,
  });

  const moveHandler = (pos: Position) => setBounds((b) => ({ ...b, ...pos }));
  const drag = useMove(windowRef, moveHandler);

  return (
    <div
      className="..."
      style={bounds}
      ref={windowRef}
    >
      <Titlebar title="A window" {...drag} />
      ...
    </div>
  );
}
This lets us move the window around by dragging the titlebar. We’re only re-rendering the component once at the end of each drag, which avoids any unnecessary work: you can confirm this by adding a console.log call to the function and checking it only prints once every time you drag the window (twice in dev mode, this is expected behavior!)
Resizing the window
Now we can move the window around, we just need to be able to resize it. The code will be very similar, but with a fair bit of added complexity as we need to handle resizing in all possible directions.
First, we’ll need to make some changes to the markup to add resize handles:
<div
className="fixed grid bg-neutral-300 border select-none
grid-cols-[4px_calc(100%-8px)_4px] grid-rows-[4px_calc(100%-8px)_4px]"
style={bounds}
ref={windowRef}
>
<div
className="grid grid-cols-1 grid-rows-[auto_1fr] gap-0.5
col-start-2 row-start-2"
>
<Titlebar title="A window" {...drag} />
<div className="border bg-white p-2 text-sm">Hello world!</div>
</div>
<div className="bg-amber-500" />
<div className="bg-red-400" />
<div className="bg-amber-500" />
<div className="bg-red-400" />
<div className="bg-red-400" />
<div className="bg-amber-500" />
<div className="bg-red-400" />
<div className="bg-amber-500" />
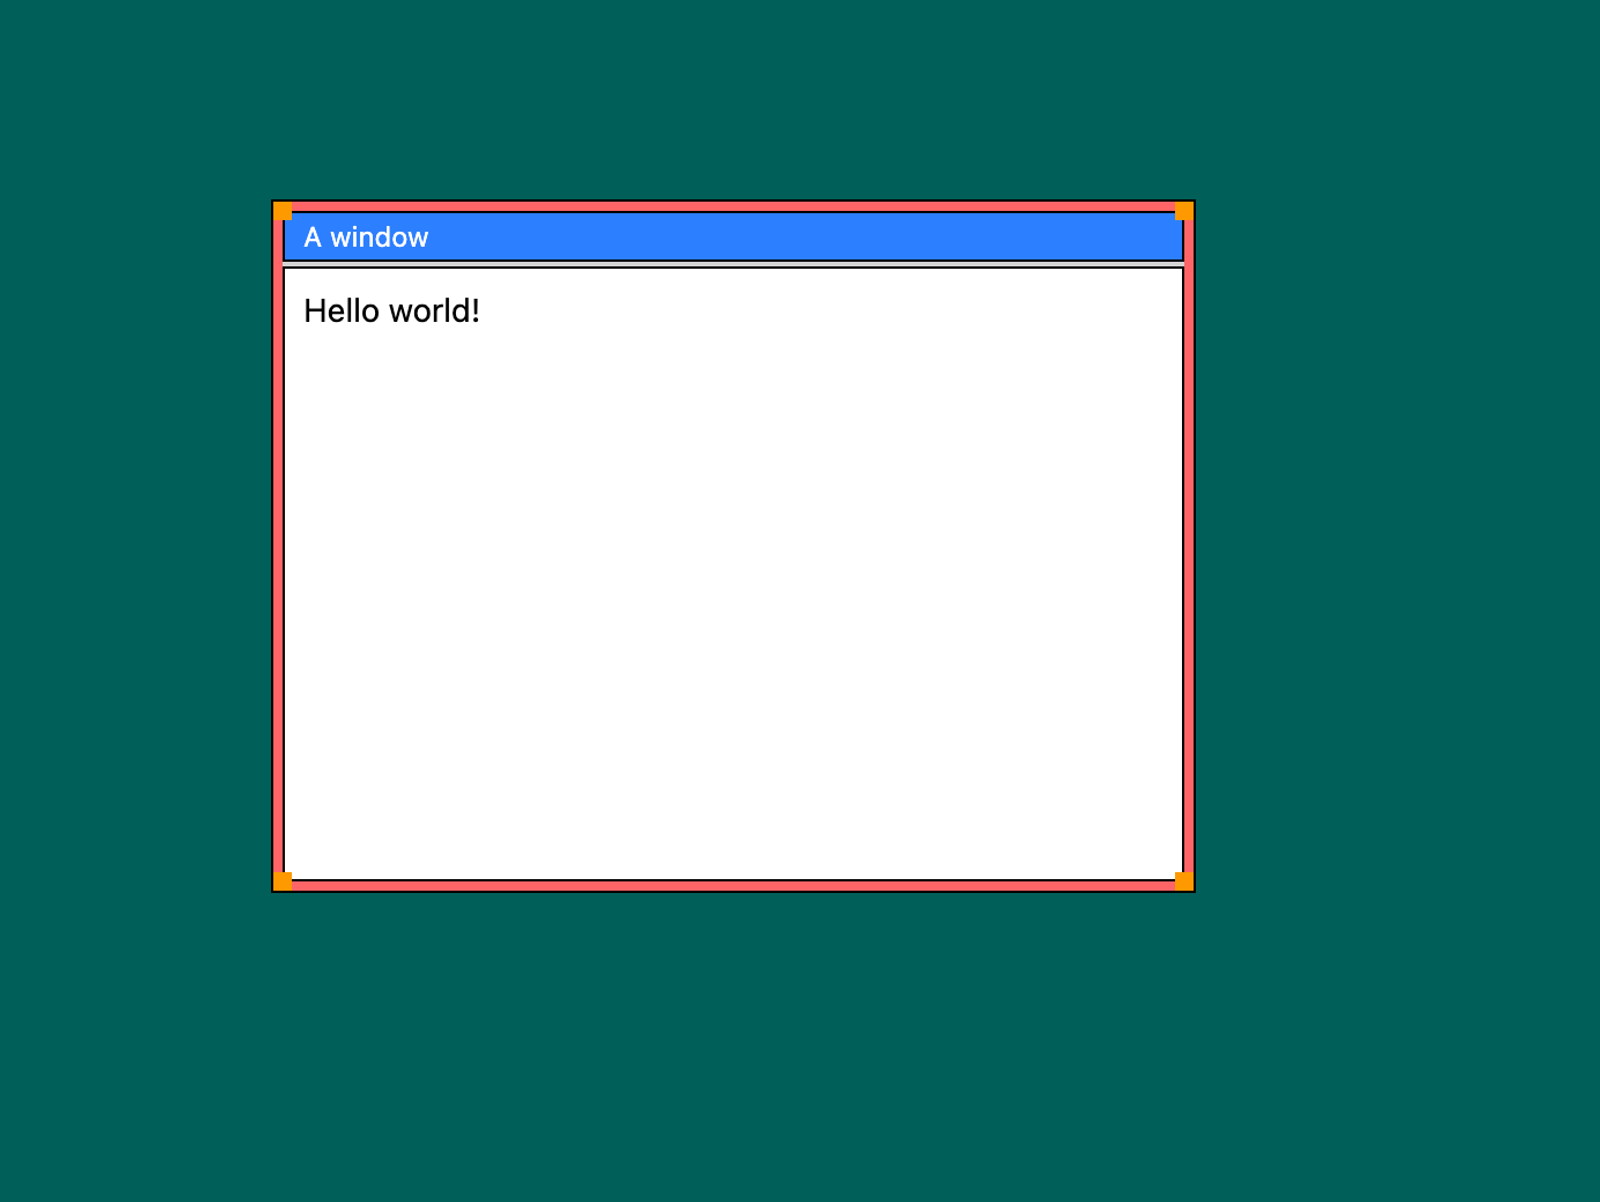
</div>CSS grid layout is super helpful here (and generally awesome!). By placing the “content” div in the center explicitly, the handles are then placed in the default left to right, top to bottom order: NW, N, NE, W, E, SW, S, SE. This is what it looks like:
Those corner handles are looking a bit small, though. The easiest way to make them bigger is to just use the CSS transform property:
<>
<div className="bg-amber-500 scale-200 origin-top-left" />
<div className="bg-red-400" />
<div className="bg-amber-500 scale-200 origin-top-right" />
<div className="bg-red-400" />
<div className="bg-red-400" />
<div className="bg-amber-500 scale-200 origin-bottom-left" />
<div className="bg-red-400" />
<div className="bg-amber-500 scale-200 origin-bottom-right" />
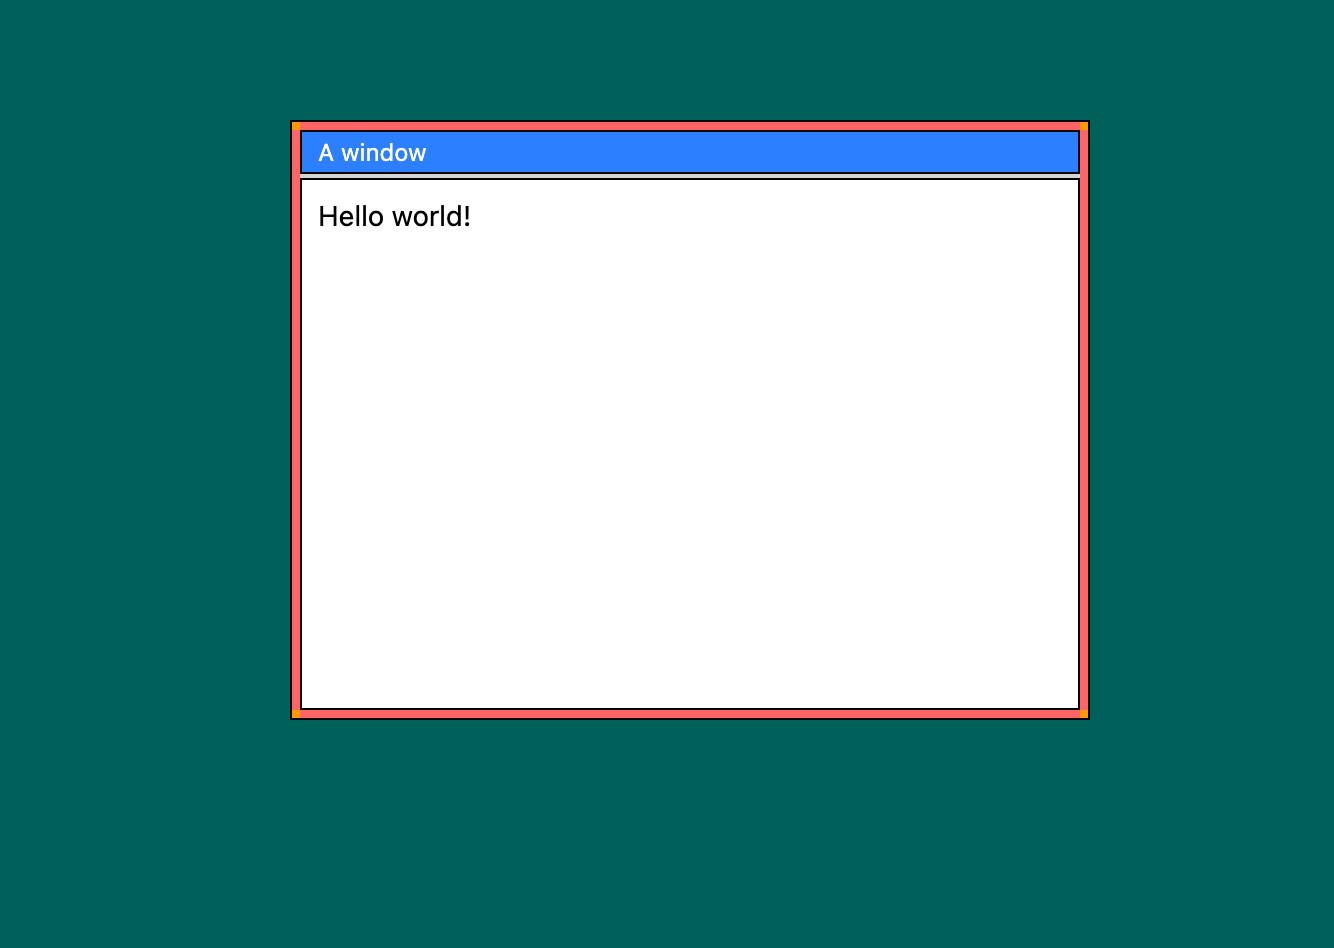
</>
Much better. As a side note, if you’re wondering why I used a calc expression for the window grid instead of simply 1fr, that’s because having a fixed size avoids some overflow issues that can be tricky to deal with otherwise.
Next, we’ll need the actual resize handler. We’ll implement this in a custom useResize hook, similar to the previous useMove. The hook signature looks very similar, but takes an additional direction parameter:
export type Rect = { top: number; left: number; width: number; height: number };

export default function useResize(
  windowRef: React.RefObject<HTMLDivElement | null>,
  resizeHandler: (rect: Rect) => void,
  direction: 'n' | 'ne' | 'e' | 'se' | 's' | 'sw' | 'w' | 'nw',
) {
  const initialX = useRef(0);
  const initialY = useRef(0);
  const windowRect = useRef<Rect>({ top: 0, left: 0, width: 0, height: 0 });

  ...
}
Like before, we’re using useRef to store temporary values for the duration of the drag action. The onDragStart handler is very straightforward, as we just store the initial values:
const onDragStart = (ev: PointerEvent) => {
  const el = windowRef.current;
  if (!el) return;

  // Save starting window position and size
  windowRect.current = el.getBoundingClientRect();

  // Save pointer start position
  initialX.current = ev.clientX;
  initialY.current = ev.clientY;
};
The onDragEnd handler is also very simple, as all we need to do is commit the changes using the provided handler.
const onDragEnd = () => {
  const el = windowRef.current;
  if (!el) return;

  // Commit window changes
  const { top, left, width, height } = el.getBoundingClientRect();
  resizeHandler({ top, left, width, height });
};
Finally, the onDragMove handler is where most of the interesting work happens:
const onDragMove = (ev: PointerEvent) => {
  const el = windowRef.current;
  if (!el) return;

  // Calculate cursor delta
  const deltaX = ev.clientX - initialX.current;
  const deltaY = ev.clientY - initialY.current;

  const r = windowRect.current;

  // Horizontal resizing
  if (direction.includes("e")) {
    const newWidth = r.width + deltaX;

    el.style.setProperty("width", `${~~newWidth}px`);
  } else if (direction.includes("w")) {
    const newWidth = r.width - deltaX;
    const newLeft = r.left + deltaX;

    el.style.setProperty("width", `${~~newWidth}px`);
    el.style.setProperty("left", `${~~newLeft}px`);
  }

  // Vertical resizing
  if (direction.includes("s")) {
    const newHeight = r.height + deltaY;

    el.style.setProperty("height", `${~~newHeight}px`);
  } else if (direction.includes("n")) {
    const newHeight = r.height - deltaY;
    const newTop = r.top + deltaY;

    el.style.setProperty("height", `${~~newHeight}px`);
    el.style.setProperty("top", `${~~newTop}px`);
  }
};
By checking horizontal and vertical directions independently, we easily handle all eight cases as the two axes, horizontal and vertical, can be separated. Note how in the case of W (left) and N (top) resizing, we need to move the window as well as resize it.
Putting all of this together into one hook, we can now use it in the Window component. We need eight of them, which does make the syntax a bit cumbersome.
const resizeNW = useResize(windowRef, setBounds, "nw");
const resizeN = useResize(windowRef, setBounds, "n");
const resizeNE = useResize(windowRef, setBounds, "ne");
const resizeW = useResize(windowRef, setBounds, "w");
const resizeE = useResize(windowRef, setBounds, "e");
const resizeSW = useResize(windowRef, setBounds, "sw");
const resizeS = useResize(windowRef, setBounds, "s");
const resizeSE = useResize(windowRef, setBounds, "se");
We can then add the drag handlers to our resize handles.
<>
  <div className="bg-amber-500 scale-200 origin-top-left" {...resizeNW} />
  <div className="bg-red-400" {...resizeN} />
  <div className="bg-amber-500 scale-200 origin-top-right" {...resizeNE} />
  <div className="bg-red-400" {...resizeW} />
  <div className="bg-red-400" {...resizeE} />
  <div className="bg-amber-500 scale-200 origin-bottom-left" {...resizeSW} />
  <div className="bg-red-400" {...resizeS} />
  <div className="bg-amber-500 scale-200 origin-bottom-right" {...resizeSE} />
</>
And with that we now have a window we can move around by dragging the titlebar and resize by dragging the edges and corners. There’s one last detail I want to cover: we’ll likely want to give the window a minimum (and optionally maximum) size, so let’s add those as props. We can add props for the window’s title and content too, while we’re at it.
export type WindowProps = {
  title: string;
  children?: ReactNode;

  minWidth?: number;
  maxWidth?: number;
  minHeight?: number;
  maxHeight?: number;
};

export default function Window({
  title,
  children,
  minWidth = 200,
  maxWidth = Number.POSITIVE_INFINITY,
  minHeight = 200,
  maxHeight = Number.POSITIVE_INFINITY,
}: WindowProps) {
  ...
}
For the minimum dimensions, it’s good to give them some reasonable default. The maximum defaults to infinity, so it’s effectively unlimited, but we don’t need to deal with the property being potentially undefined.
Next we’ll need to pass these properties to the resize hook, so we’ll add a new parameter and pass it.
type ResizeBounds = {
  minWidth: number;
  maxWidth: number;
  minHeight: number;
  maxHeight: number;
};

export default function useResize(
  windowRef: React.RefObject<HTMLDivElement | null>,
  resizeHandler: (rect: Rect) => void,
  direction: "n" | "ne" | "e" | "se" | "s" | "sw" | "w" | "nw",
  b: ResizeBounds,
) {
  ...
}
const resizeBounds = { minWidth, maxWidth, minHeight, maxHeight };
const resizeNW = useResize(windowRef, setBounds, "nw", resizeBounds);
...Finally, we’ll use these values to restrict the movement in the move handler. A simple clamp function will come in handy (and really should be part of the JS standard!)
function clamp(value: number, min?: number, max?: number) {
  return Math.max(
    Math.min(value, max ?? Number.POSITIVE_INFINITY),
    min ?? Number.NEGATIVE_INFINITY,
  );
}
With this function we can update the resize code. I’m omitting the vertical resize this time as it is analogous.
if (direction.includes("e")) {
  const newWidth = clamp(r.width + deltaX, b.minWidth, b.maxWidth);

  el.style.setProperty("width", `${~~newWidth}px`);
} else if (direction.includes("w")) {
  const newWidth = clamp(r.width - deltaX, b.minWidth, b.maxWidth);
  const newLeft =
    r.left + clamp(deltaX, r.width - b.maxWidth, r.width - b.minWidth);

  el.style.setProperty("width", `${~~newWidth}px`);
  el.style.setProperty("left", `${~~newLeft}px`);
}
Finally we have a movable, resizable window with customizable limits. And that’s it for this part!
Next steps
Setting up a window is all well and good, but we want to have multiple of them in a stacking environment. Adding more windows is easy, just duplicate the component in Desktop:
<div className="fixed inset-0 w-screen h-screen overflow-hidden bg-teal-800">
  <Window title="A window">
    <div className="p-2">Hello world!</div>
  </Window>
  <Window title="Another window">
    <div className="p-2 bg-red-300">Hello world!</div>
  </Window>
</div>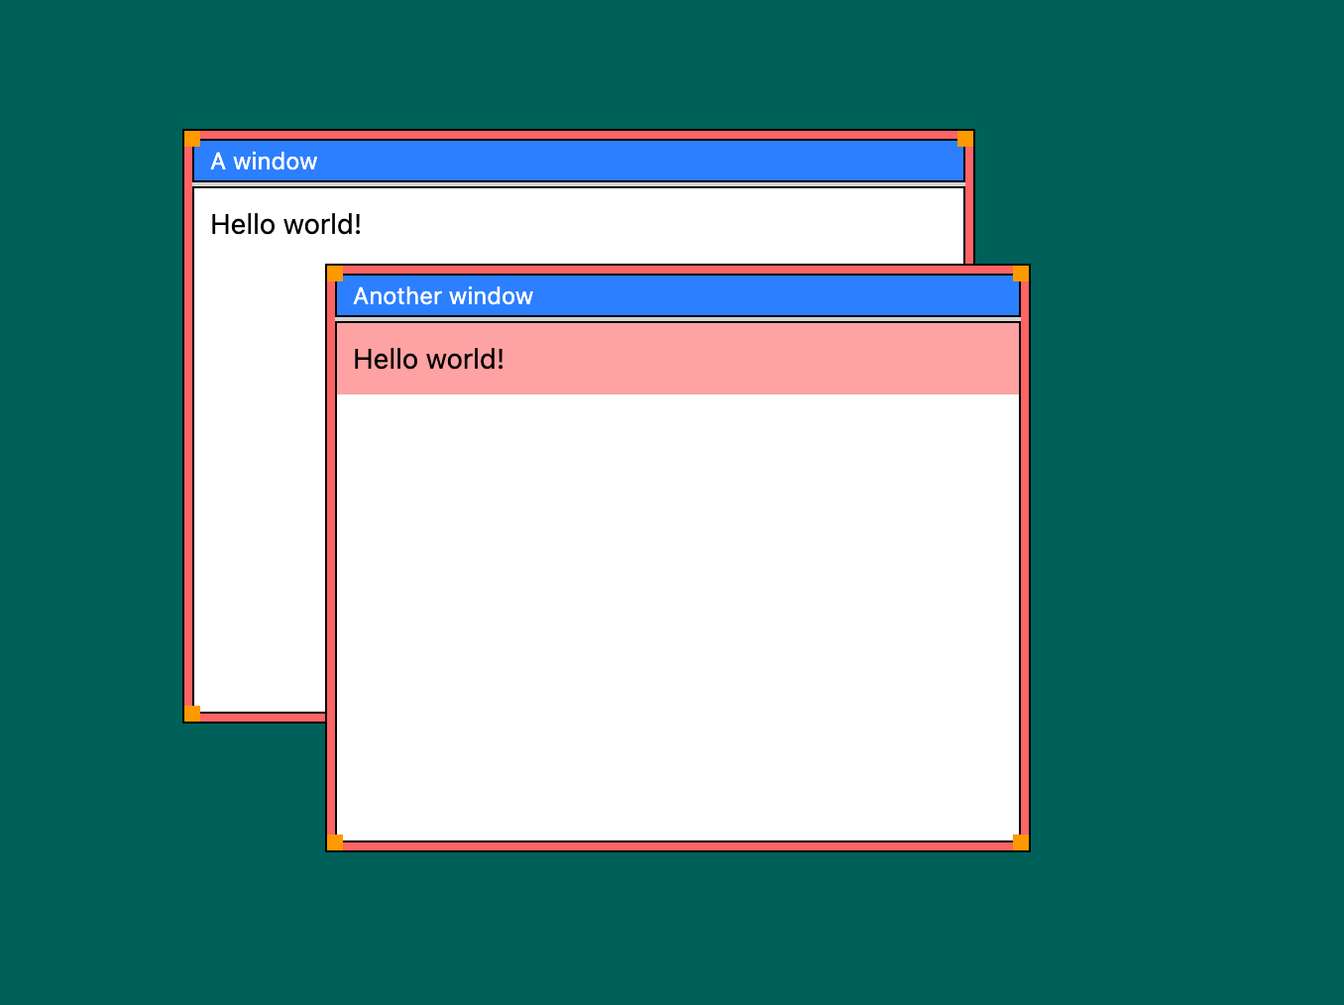
If you actually try this, though, you’ll notice the second window always appears on top. This is expected, of course: we have two sibling elements with position: fixed and no z-indexing, so they will be ordered as they appear in the document. Ideally, we’d like whichever window we clicked last to jump to the top of the stack.
In the next part of this series, I’ll be showing a way to design such a stacking system that can deal with an arbitrary number of windows.